Tax Information Input
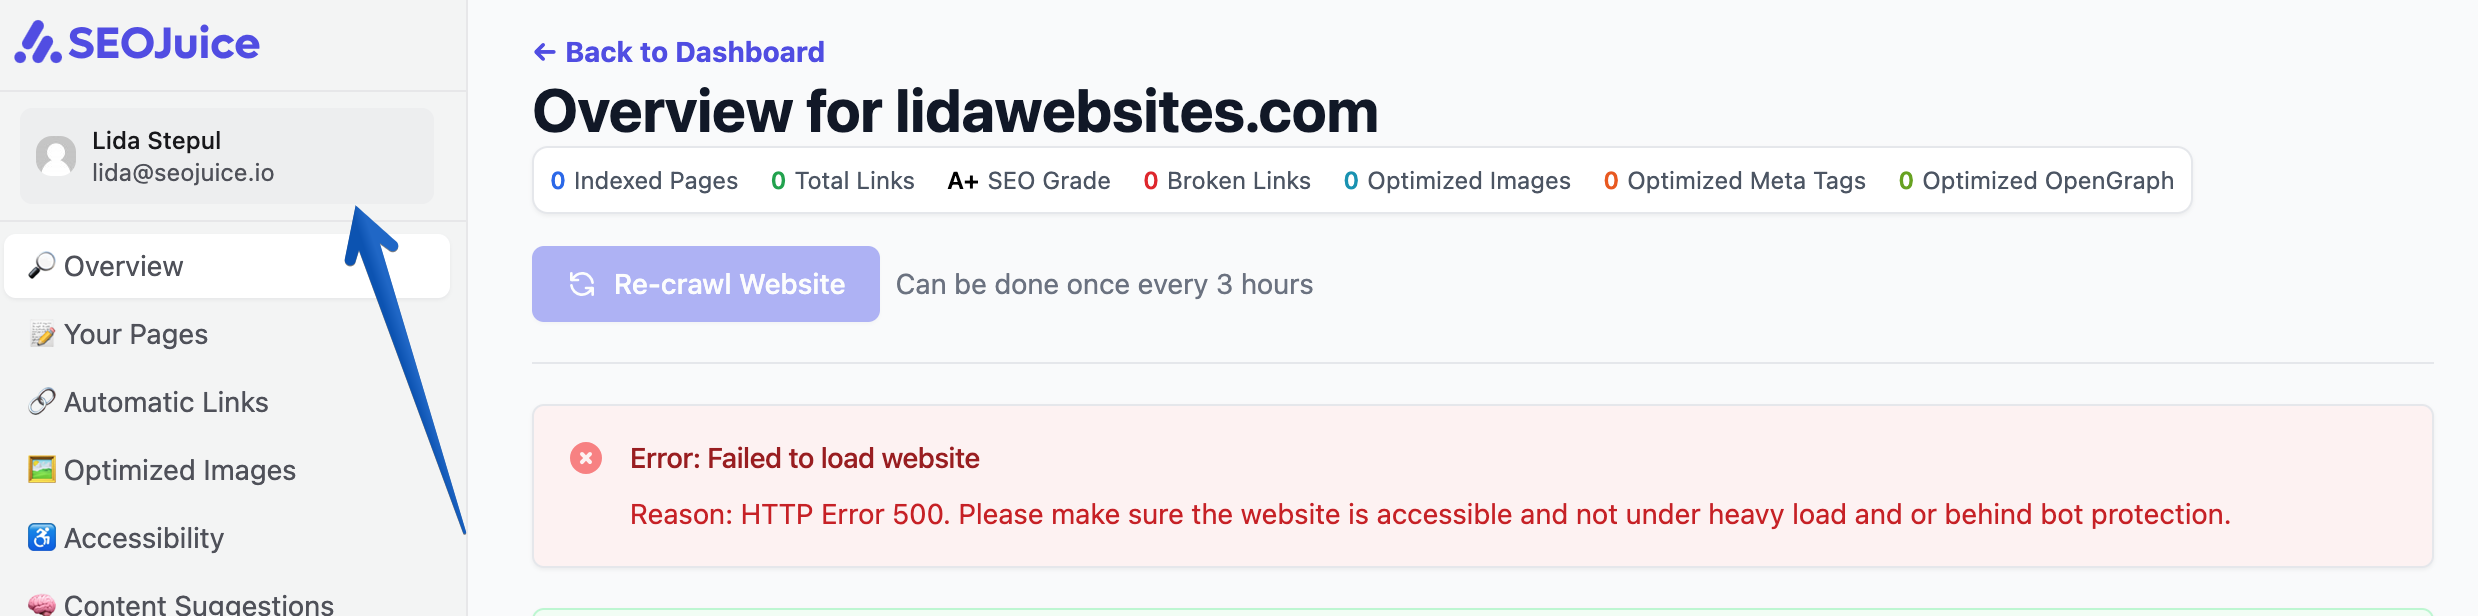
Step 1: Log In to Your SEOJuice Account
- Visit the SEOJuice Login Page and enter your email and password.
- Navigate to your Dashboard after successfully logging in.
Step 2: Access the Billing Section
From your dashboard, locate the Settings menu.
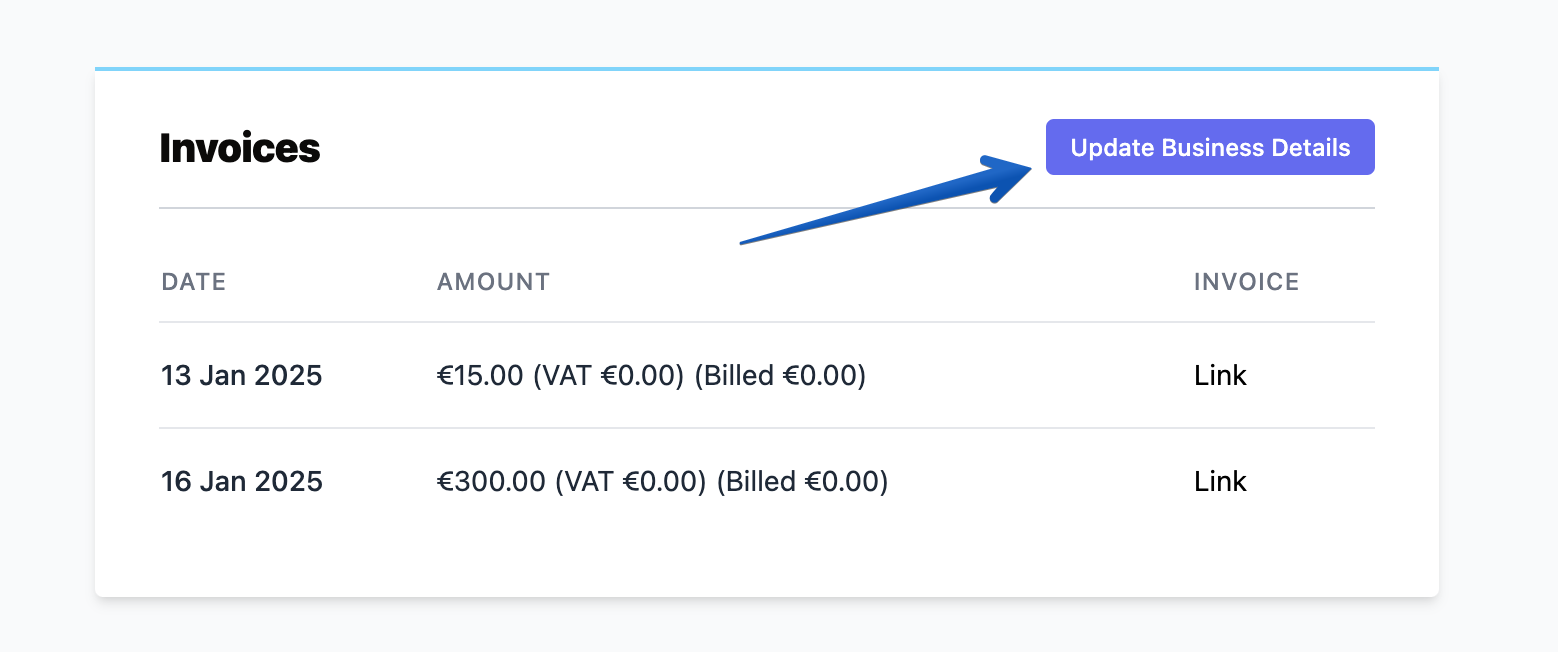
Step 3: Locate the Invoices Area
- Scroll down to the Invoices section.
- Go to Update Business Details.
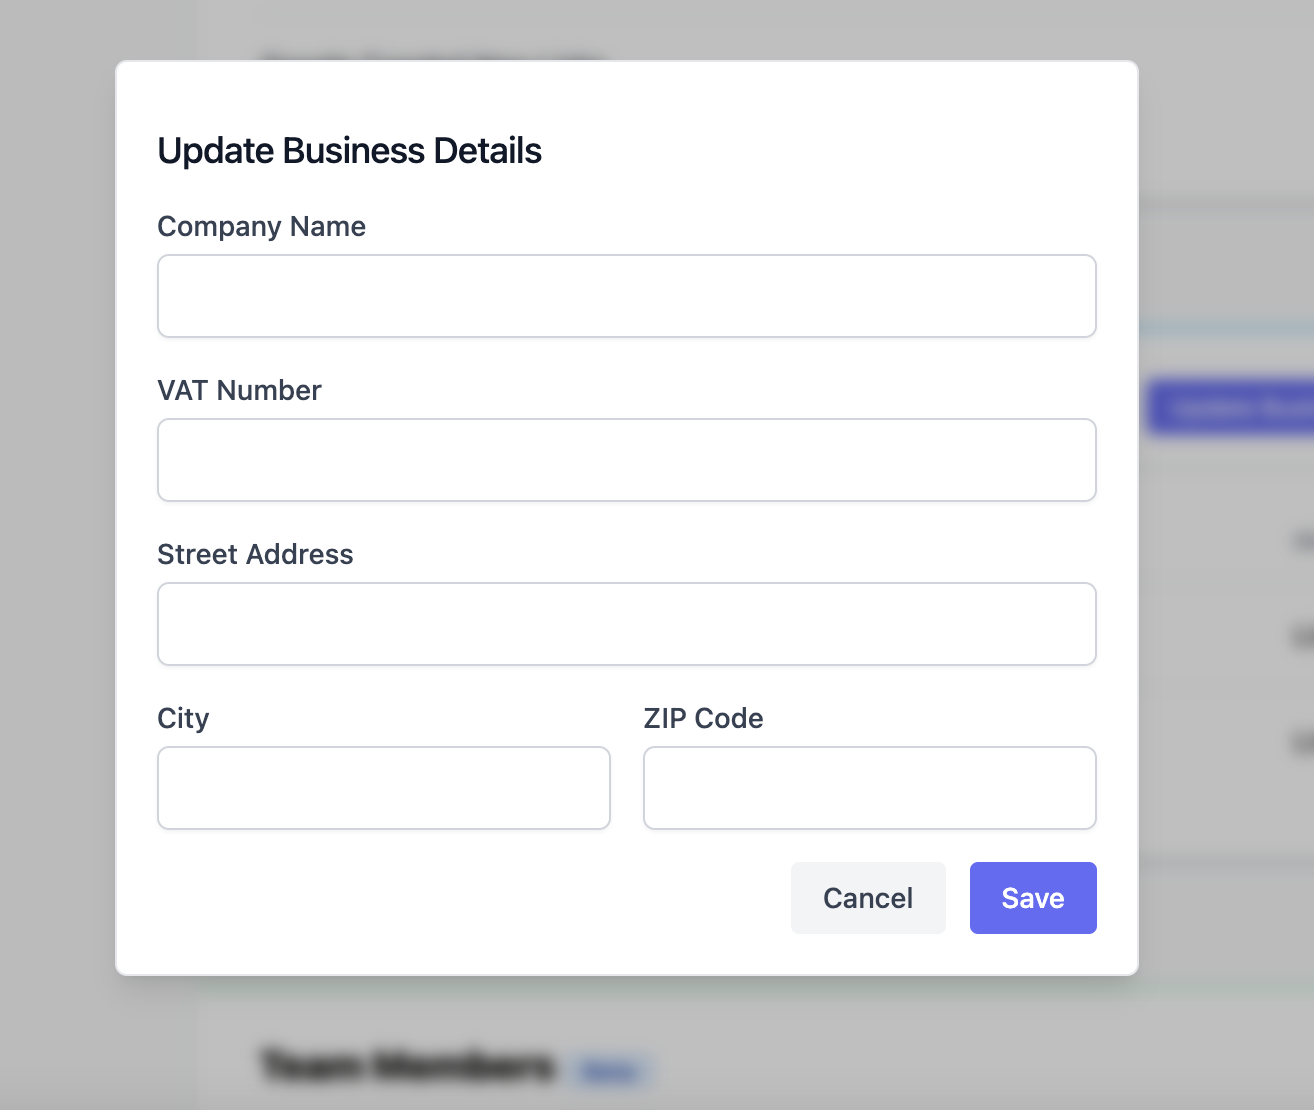
Step 4: Add Your Business Details
In the Business Details section, enter the following:
- VAT Number (if applicable): Add your VAT ID for tax exemptions or compliance.
- Company Name: Ensure it matches your official tax registration.
- Billing Address: This should correspond to the address linked with your tax details.
Double-check all entries to avoid discrepancies.
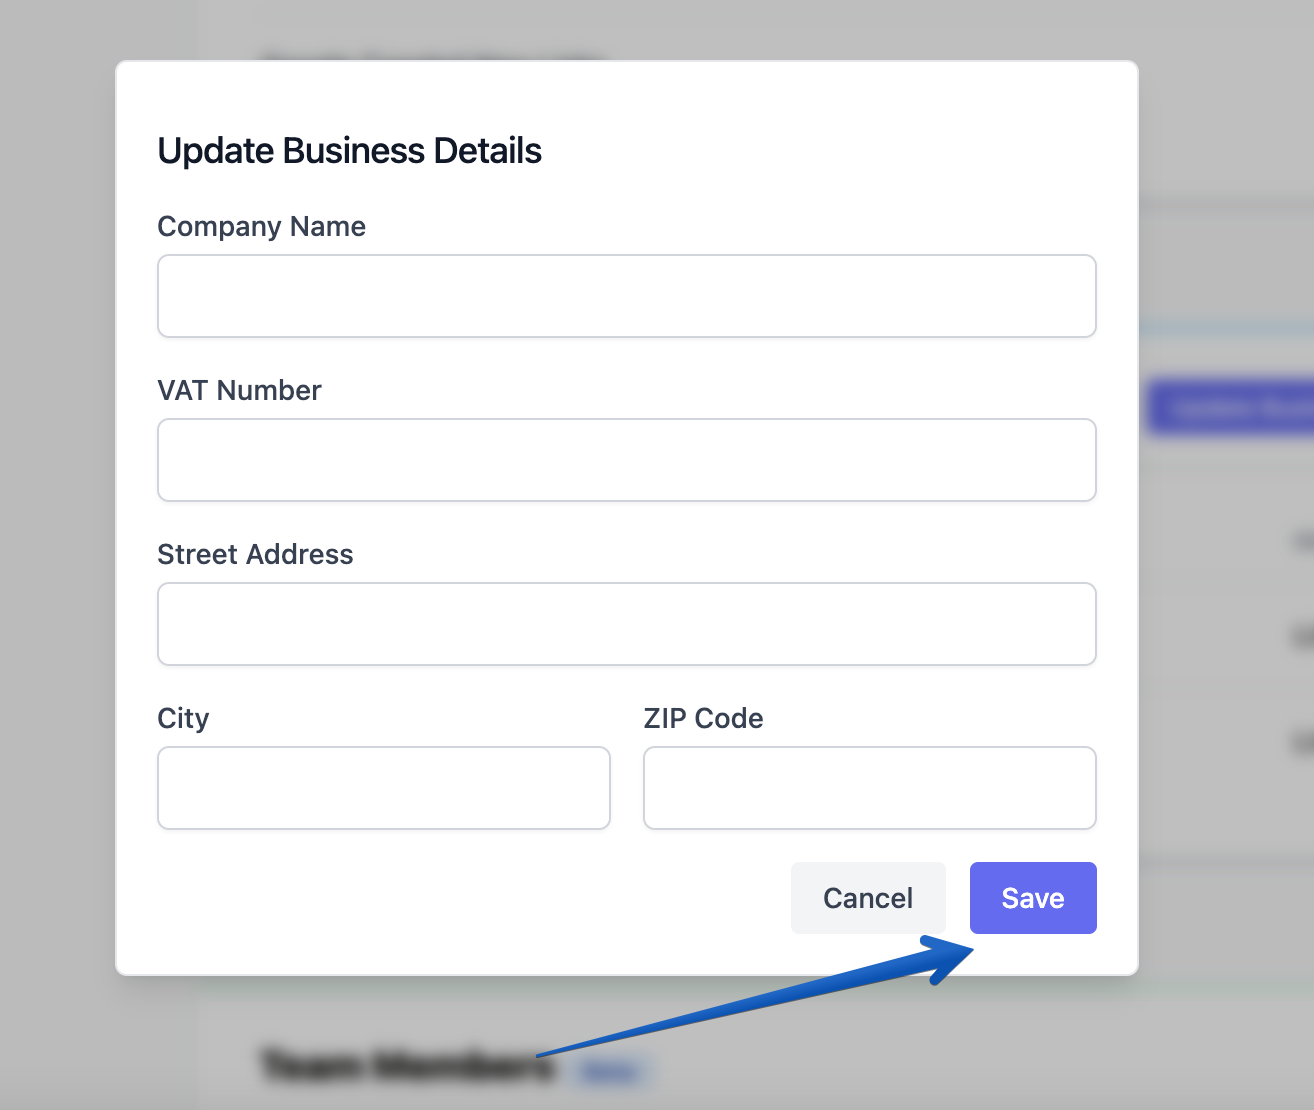
Step 5: Save and Confirm
Once all business details are entered, click Save at the bottom of the page.
Step 6: Verify Your Information
- Check the Business Details section to verify that all entries are correct.
- Review your next invoice to ensure the updated tax details are reflected.
- If any discrepancies are found, revisit the steps above to make corrections.
Need Help?
- Live Chat: Access live support via the chat option on your dashboard.
- Email Support: Contact us at lida@seojuice.io.