Apply On-Page Optimizations
SEOJuice generates meta, schema, OG, and alt-text changes after each crawl. You review them, approve them, and track what landed.
Prerequisites: Work through your action items to understand the issue workflow.
Step 1: Open the Changes page
Click Changes in the sidebar. This page shows all optimizations SEOJuice has generated for your site — meta descriptions, title tags, OG tags, structured data, and image alt text.
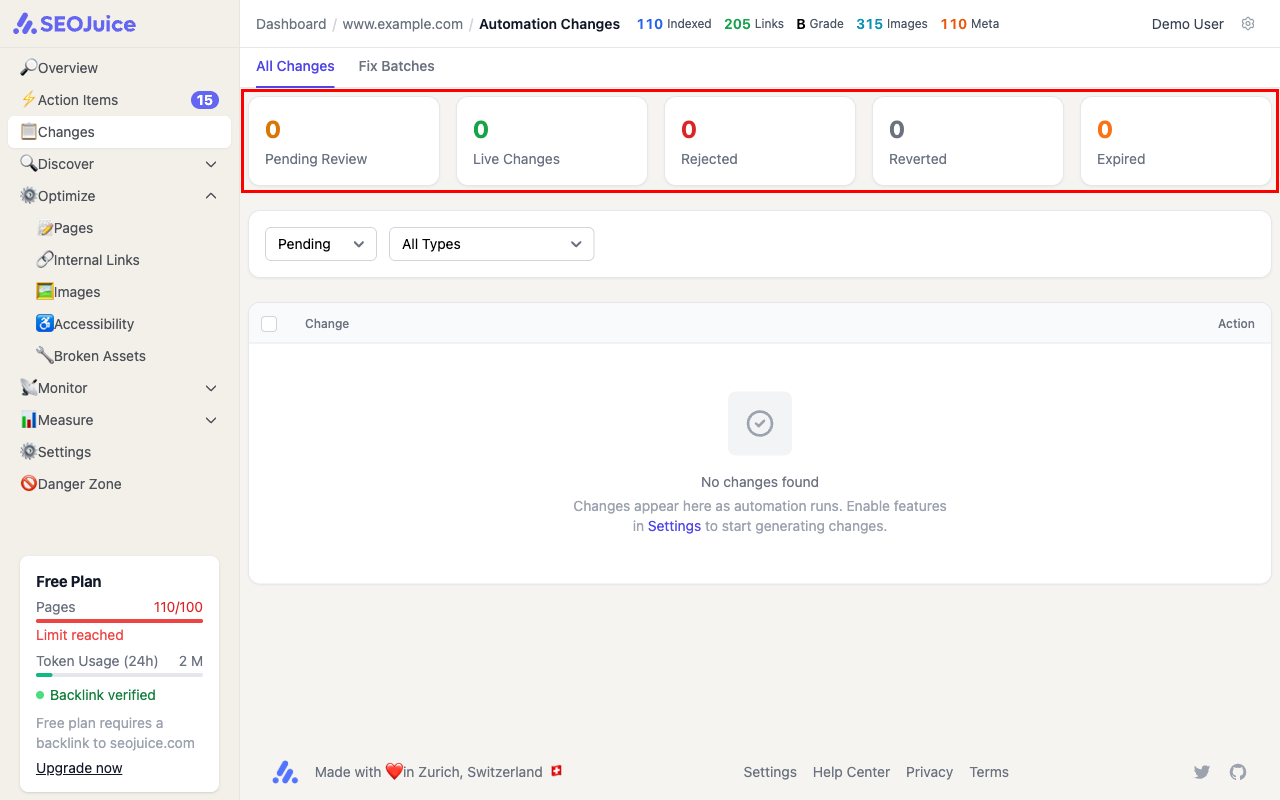
The KPI cards at the top show what SEOJuice has done in the last 30 days — total optimizations applied, estimated time saved, and value delivered.
Step 2: Review a suggested change
Each change shows a before/after diff so you can see exactly what SEOJuice proposes. You can:
- Approve — apply the change to your site immediately
- Reject — dismiss the suggestion (it won’t be suggested again)
- Edit — modify the suggestion before approving
Changes are applied through the snippet you installed — no code changes needed on your end.
Step 3: Set automation levels
If you’d rather not review every change, you can adjust automation levels in Settings. SEOJuice offers four modes per feature:
- Off — no changes generated
- Suggest — changes are generated but wait for your review
- One-Click — approve changes in bulk from the dashboard
- Auto-Deploy — safe changes are applied automatically; risky changes still wait for approval
What to expect
Optimizations are generated after each crawl. The more pages you have, the more suggestions you’ll see. All changes are tracked and reversible — you can undo any optimization from the Changes page.
Next step: Fix broken links to clean up 404 errors and redirect chains.