Install the SEOJuice Snippet
One script tag makes SEOJuice active on your site — it injects internal links, meta improvements, and accessibility fixes on every page load.
Prerequisites: Add your website to SEOJuice first.
Step 1: Find your snippet code
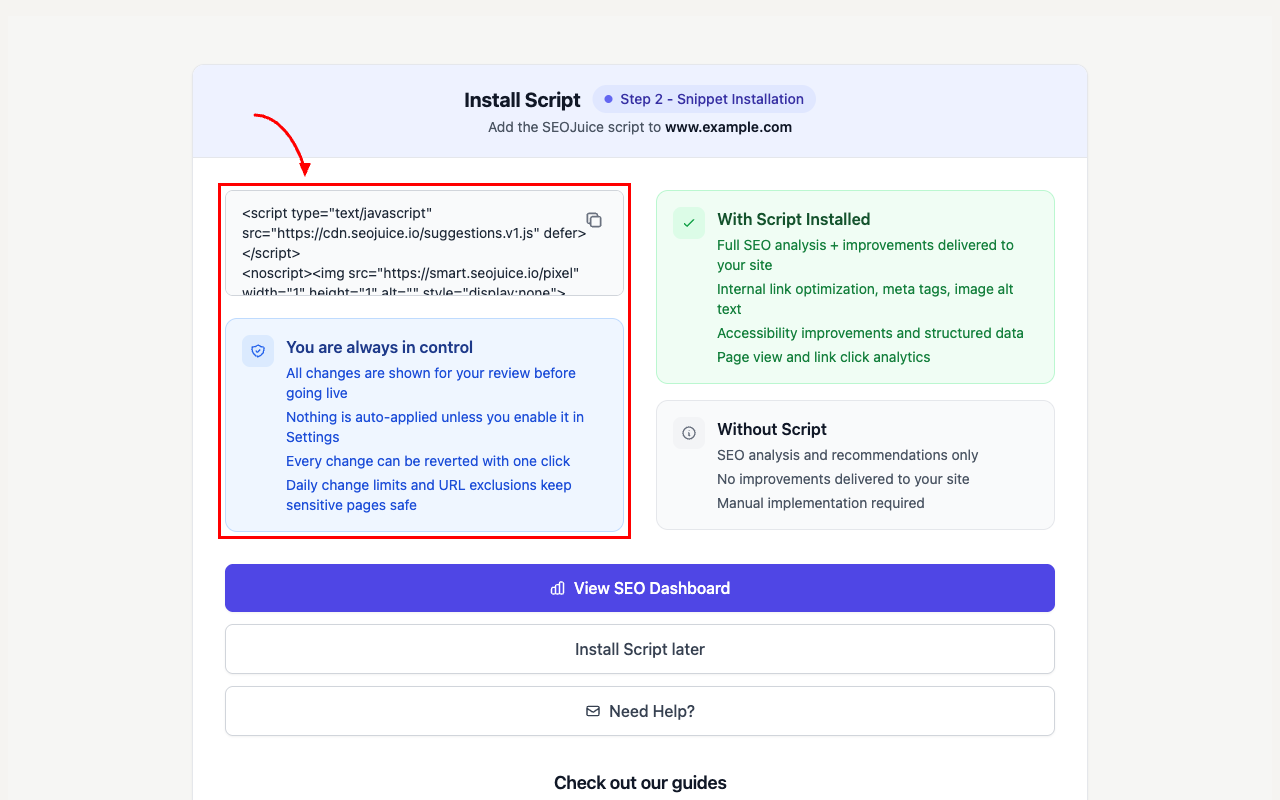
During the onboarding wizard (Step 2), you’ll see your unique script tag. This is the code that connects your website to SEOJuice.
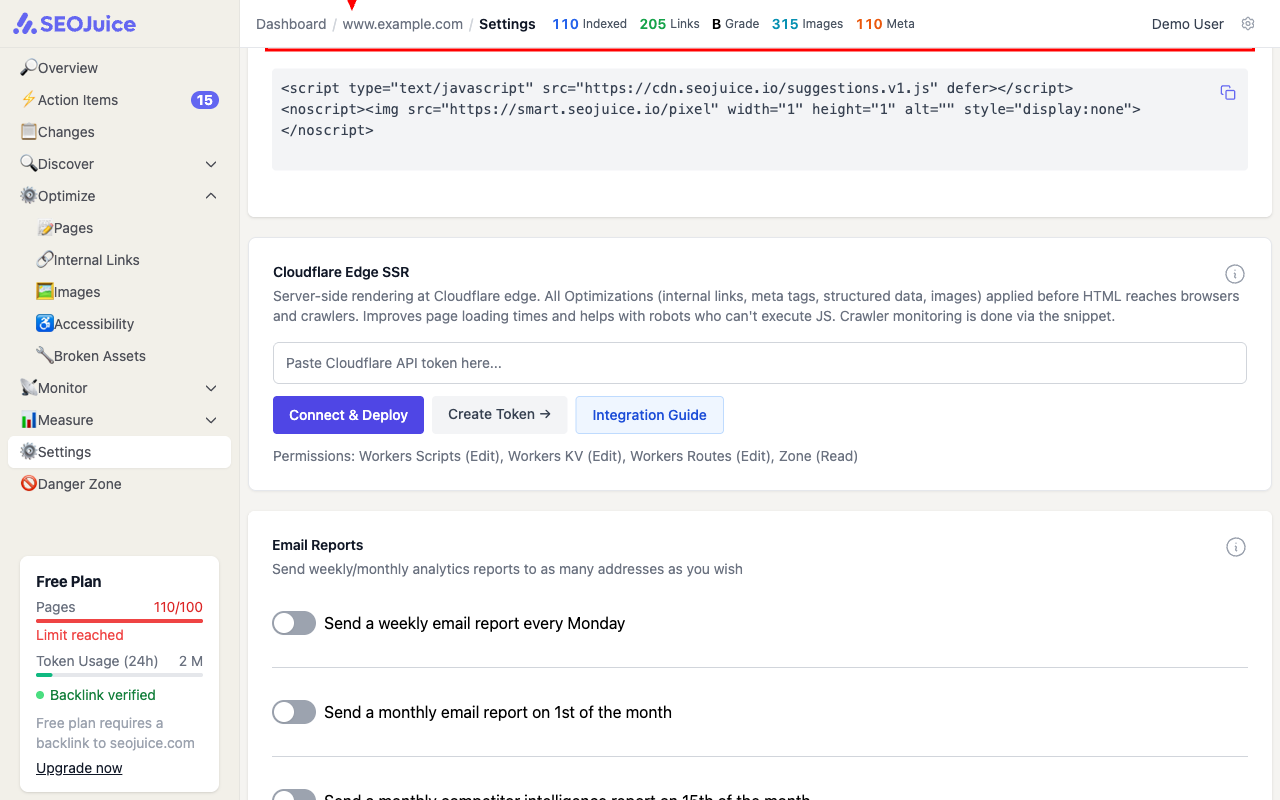
You can also find this snippet later in your website’s Settings page under “Simple Integration snippets.”
Step 2: Add it to your website
Copy the snippet and paste it into your website’s <head> or <footer> section. The script is lightweight (~5KB gzipped) and loads asynchronously — it won’t slow your site down.
What to expect
Once installed, SEOJuice automatically detects the snippet. Optimizations begin appearing within minutes — internal links, meta tag improvements, and schema markup are injected dynamically on page load. You’re always in control: all changes are shown for review before going live, nothing is auto-applied unless you enable it, and every change can be reverted with one click.
Next step: Connect Google Search Console for richer keyword and performance data.